SECOND BLOG POST THIS WEEK YEAAAAAAAA
 (if you click on the image you can see a larger image!)My other blog post from this week is here
(if you click on the image you can see a larger image!)My other blog post from this week is here
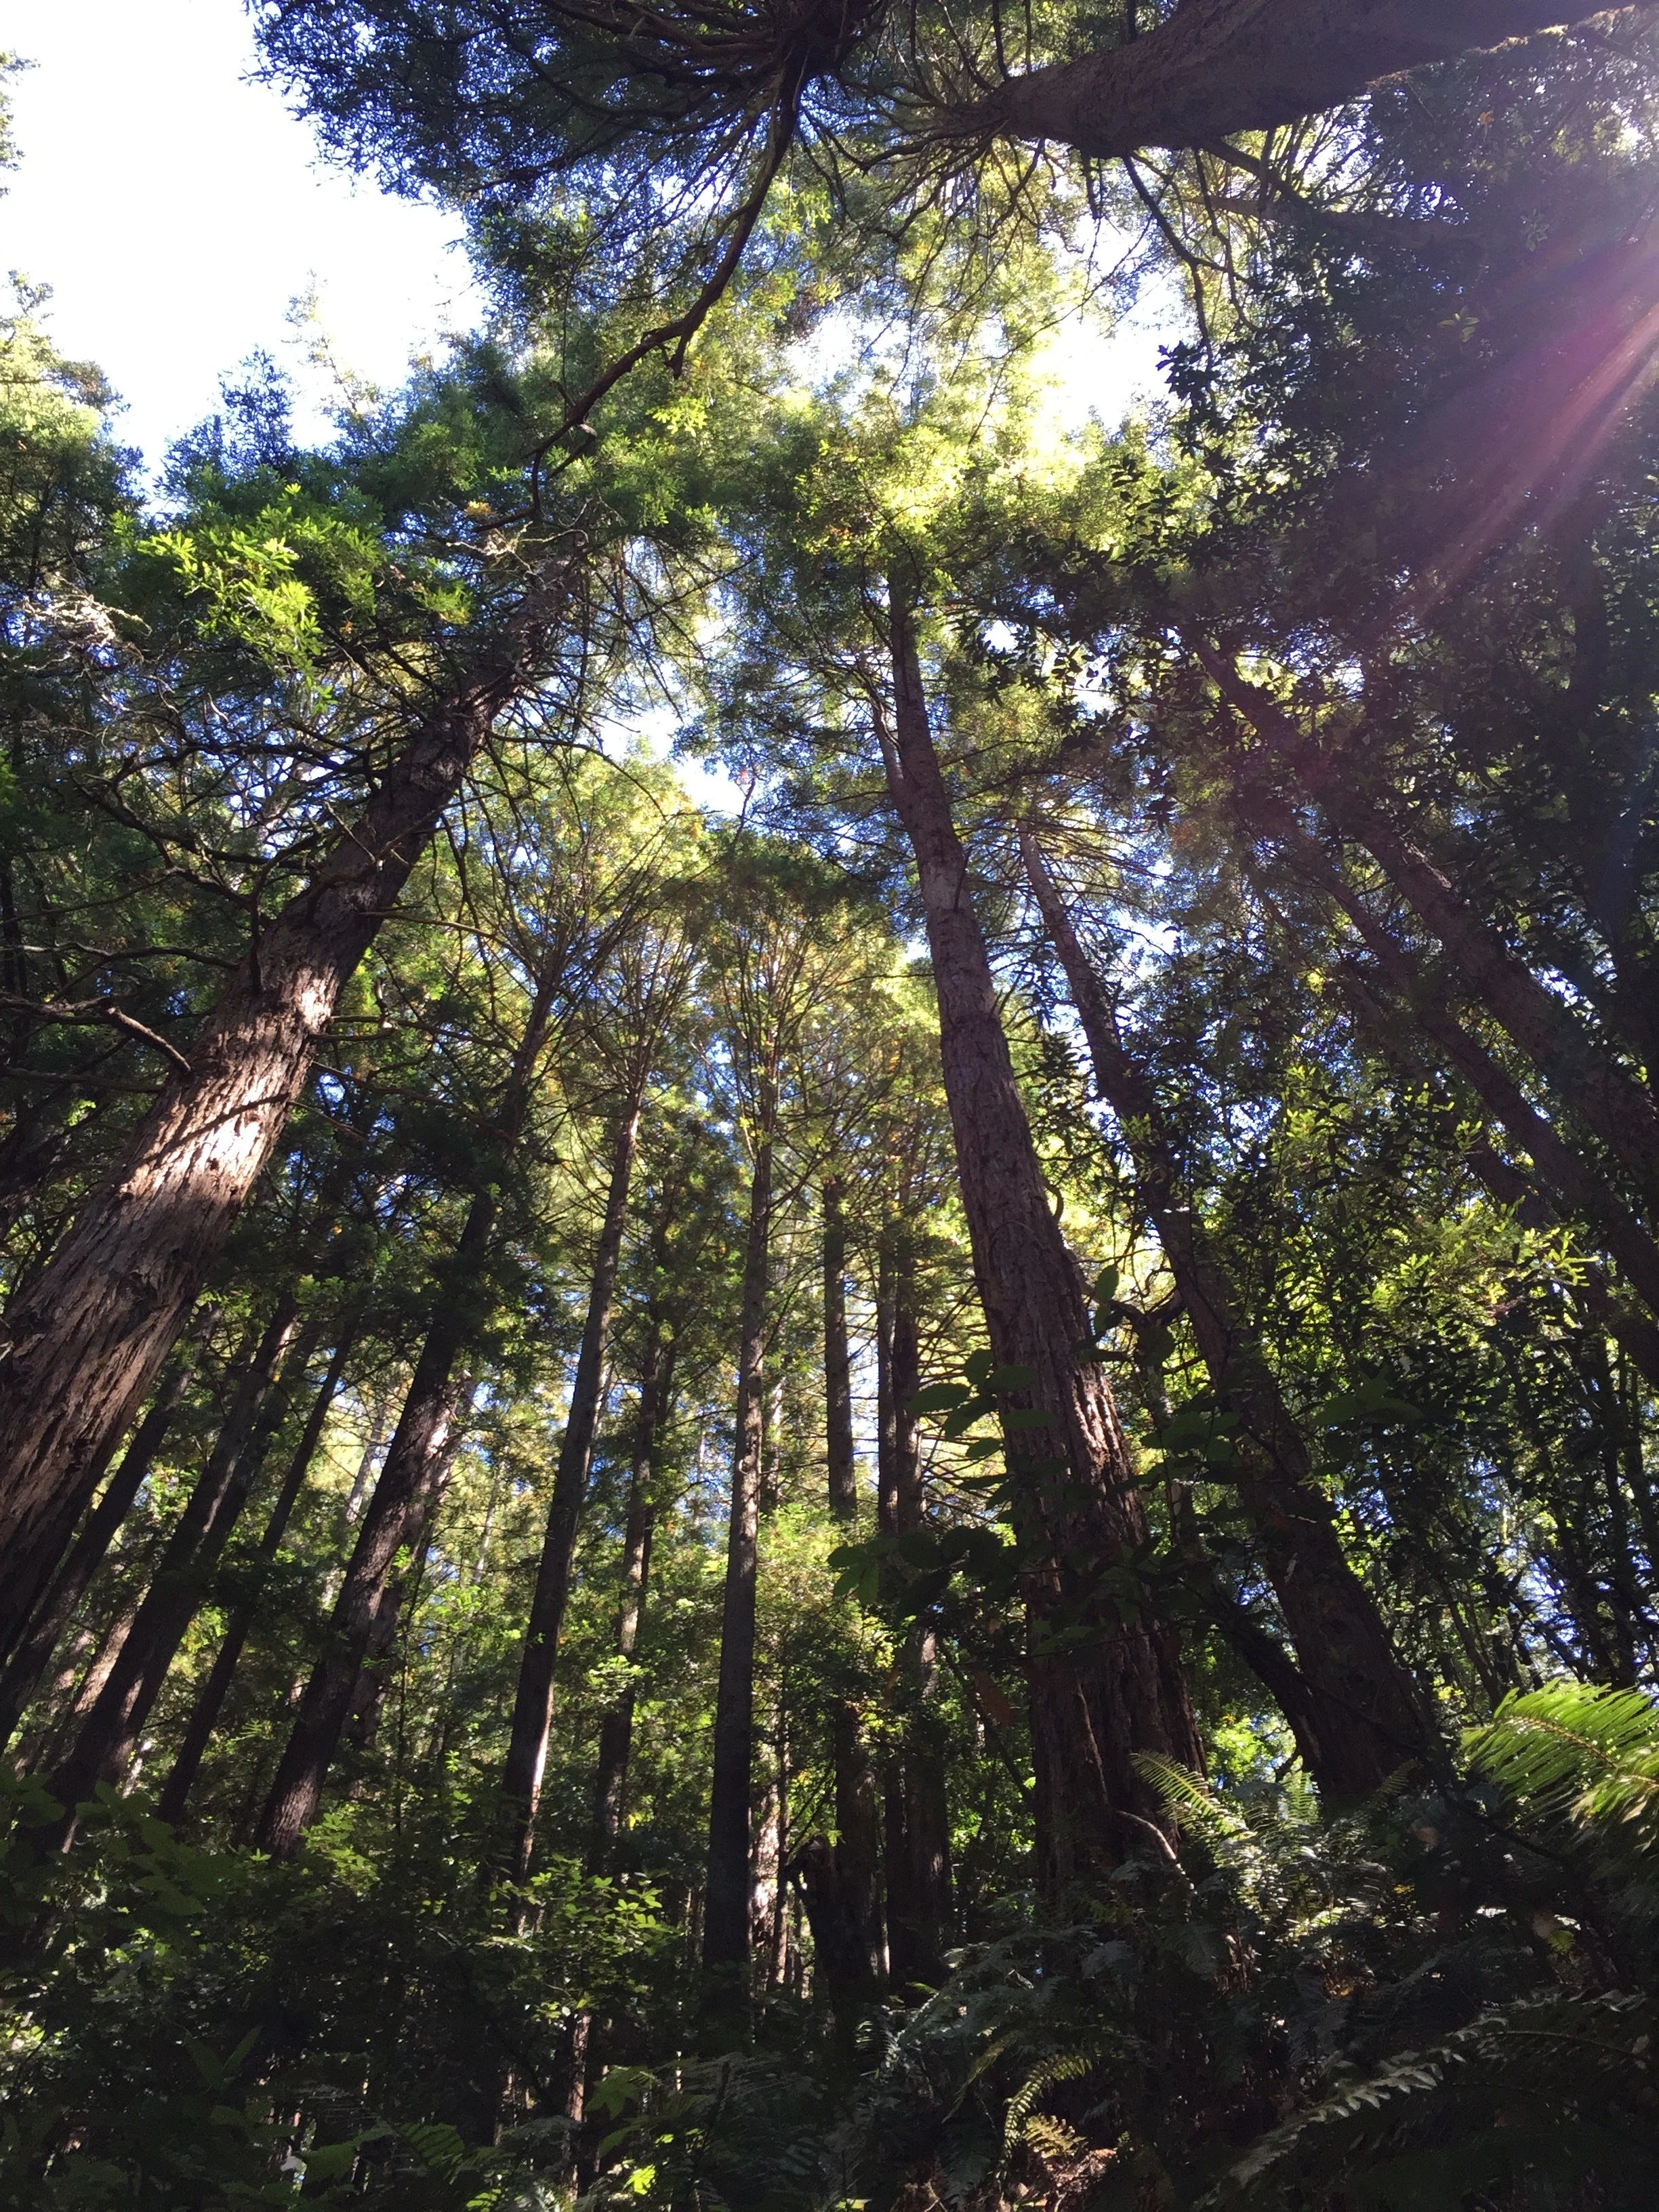
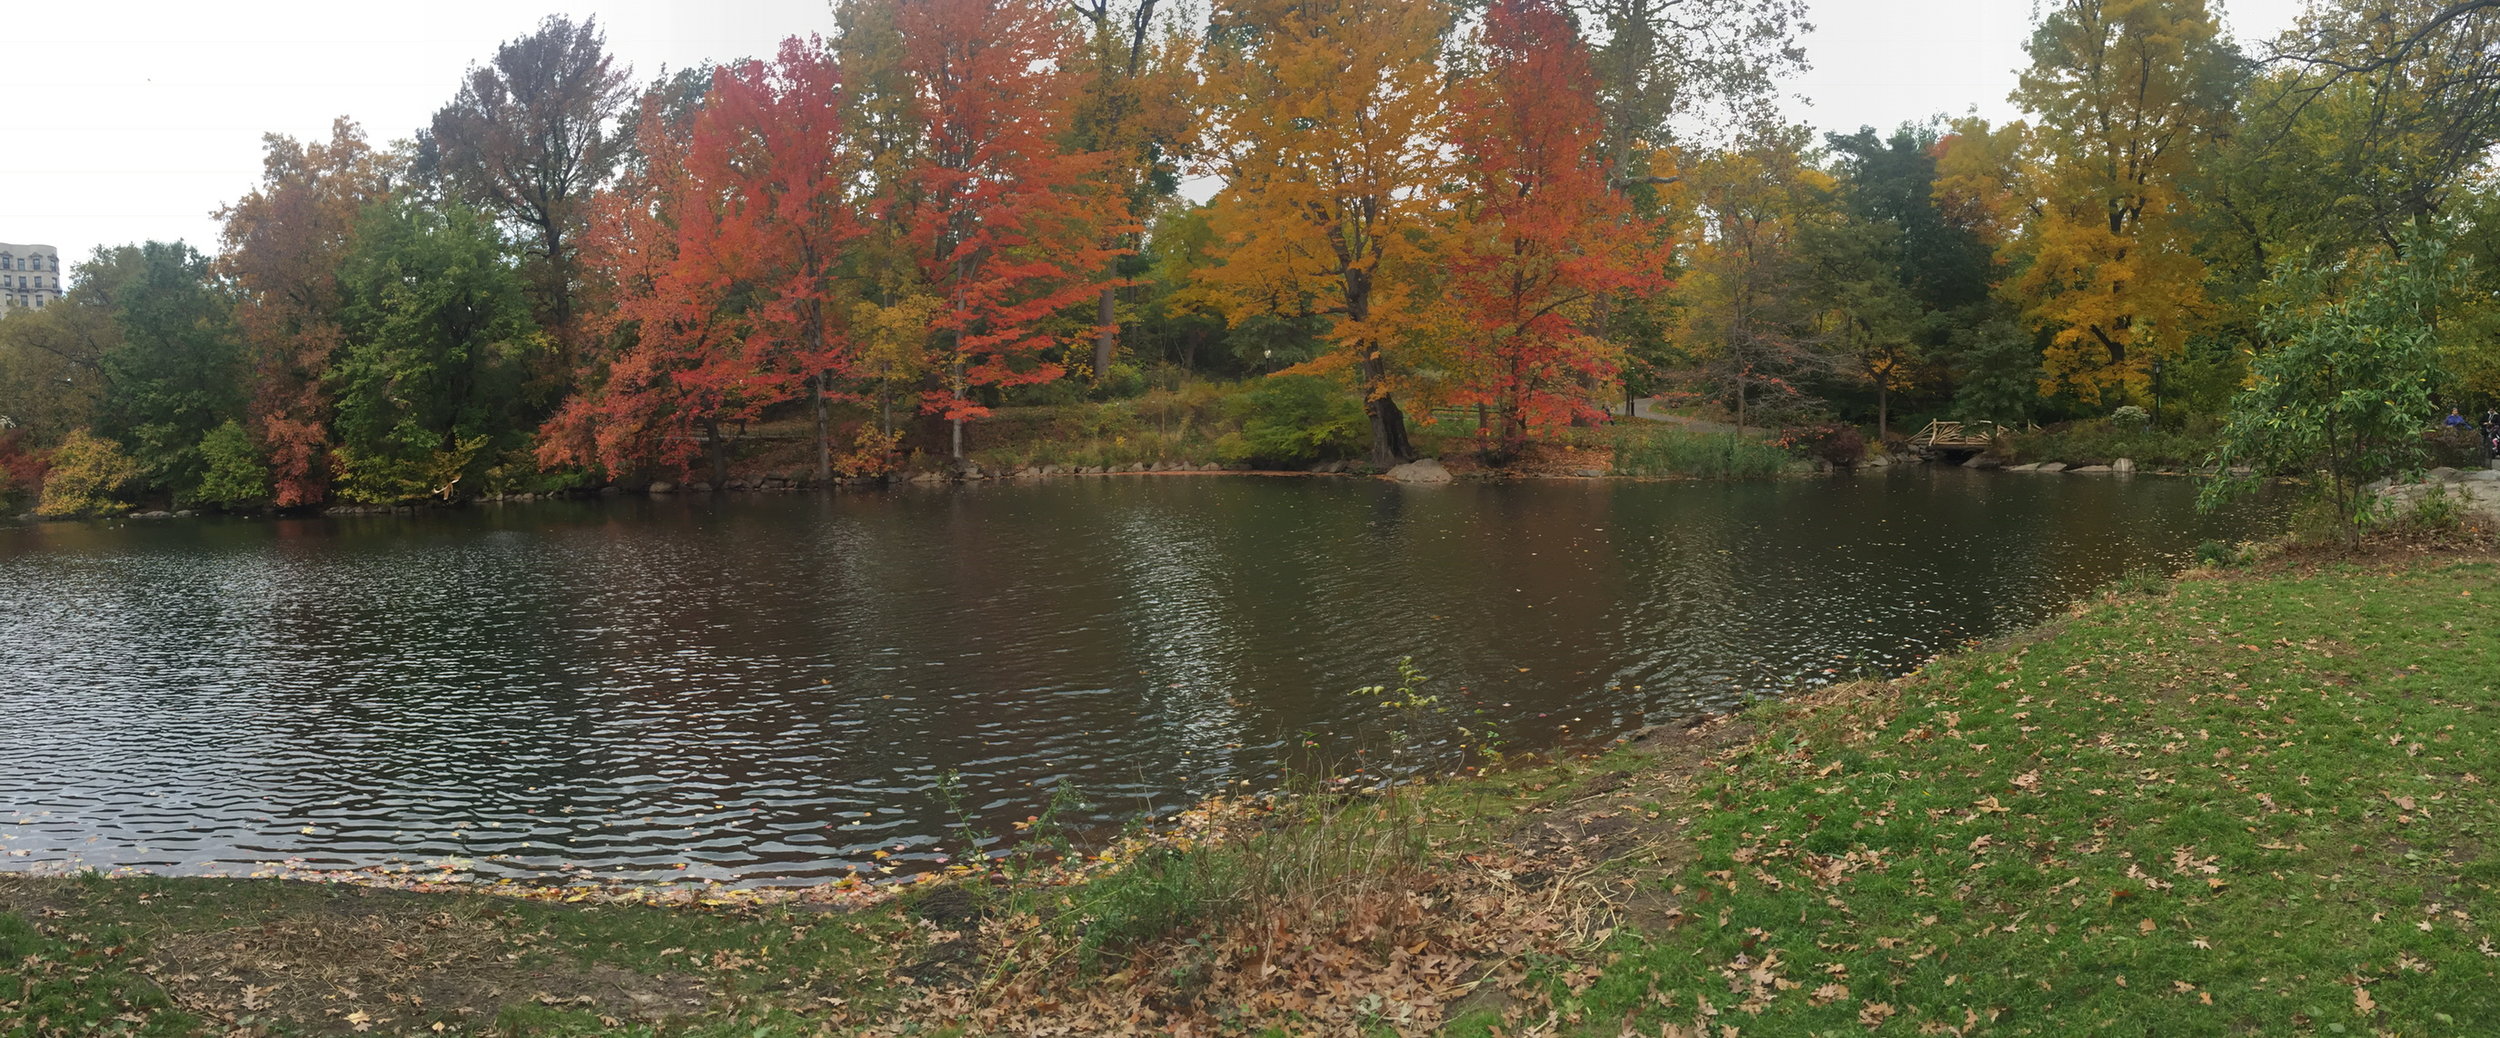
[In August I emailed the parent community and requested they tell me their feelings about our intention to open a second campus in Brooklyn because "I want to build our second campus to serve our whole community, not shoehorn us into a space because we are feeling rushed, cramped, or stressed. I want to know what you want; I want to build this with you." One parent responded to me with honesty about their growing-pains-anxiety and I am super grateful for that because it helped me clarify my thinking about where we're at as a growing community, and what I want to see for us in the future. I put together this blog post with the intention of making my thoughts on the Brooklyn campus more visible and expand on my (intentionally brief) request for help with the Brooklyn Campus Working Group at October's Assembly. Most of this post is excerpted from my email response to that parent.]I think you've put your finger on exactly the concern that people have been hesitant to voice, one that merits a thoughtful response: that we as a community too small or too fragile to split up, that something will break if we make this change in order to continue growing, and that we should just hold still exactly as we are, in this equilibrium.And I must confess, there have been times where I was feeling that too! I have been incredibly fortunate to walk into a thriving, healthy culture at East Harlem and become a member of the community almost immediately. I love the space in East Harlem, love the way the light slants through the windows in the back room in the morning, love the library, love the lady at the deli and Central Park around the Meer. I am grateful for the authentic relationships I've developed with all of the kids here and I'm sad to think that when things change it'll mean that I won't get to see every one of them every day. Our facilitator team is complementary and well-balanced and I know our lives will become more logistically complicated when our day no longer ends with all four of us in a room checking in. The idea that we could just hit pause and hold things just as they are is undeniably tantalizing, and it took me until this summer to truly appreciate why we can't.For one, it's too late to hit pause now; we've already outgrown our East Harlem space. We have 30 students currently enrolled (and running and playing and making joyful chaos) in the space, with 3 more joining us as soon as their visas clear. We have a waitlist (!) of 6 kids, who have done everything in the application process except a visiting week (which we haven't been able to schedule because our space is so full...) and 15 more families RSVP'd to our upcoming Parent Interest Night. We have doubled in size every year since the school has been in existence, and we have hit the point where the only thing preventing us from doing it again this year is the size of our space. With 9 kids and 3 facilitators already commuting from Brooklyn, it makes the most sense to open the second campus there to free up space in East Harlem.Because beyond logistics, the exciting thing about adding the more humans to our community is that they (1) bring more material resources to support our kids' already varied and awesome interests, and (2) bring their selves to augment, embolden, and enrich the culture of the school.To the first point: more space means we can enroll more students, which means more tuition money to buy supplies, pay facilitators, or even hire support staff. Two locations means twice the jumping off points for field trips; more ice skating and DUMBO bouldering and Brooklyn-Museuming with less time spent rushing back on the subway up the entire island of Manhattan for spawn.The second point is more ephemeral, but no less important. More kids means more interests, different offerings, new ideas. I've seen firsthand this year how each new person in the community enriches it, brings new things to light for all of us, creates more invitations to explore, discover, and grow. Some things we can only do as we get bigger, like field sports teams or run hackathons. My dream is to get big enough to stage a full musical; one the kids write, compose, direct, design, act in, and crew. We're going to need quite a few more humans before we hit that goal!I've been thinking a lot about the cross-section of a giant sequoia tree I saw at the Natural History Museum in London - it lived 1300 years before being felled in 1893 in California and sliced up for lumber and museum fodder. It was large enough that I could have lain down twice across it, and its rings were marked with historical events: the penning of the Magna Carta, the birth of Queen Victoria (very Anglo-centric, of course). When that tree sent its first shoots out of the earth, English was not yet a language.In ALC-land, we often talk about the Agile tree metaphor - the soil is trust, the roots are foundations, the branches are principals, and the leaves are the tools - to illustrate the difference between what is fundamental or essential to ALC and what is cyclical or changeable. But inherent in this metaphor is the idea of growth. Every year, every day, every hour, that giant sequoia grew until someone got greedy and saw its glory and cut it down. In the natural world, living things are continually growing, changing, and adapting or they die.I do this work because I truly believe that self-directed education can do the most good for the most children. I believe our increasingly scary world needs more humans who are curious and adaptable and emotionally intelligent, and that ALC is a place that nurtures those traits and people. I believe we are doing something special by creating in a world where things are mostly destroyed. I want ALC to be the tree that keeps growing, across boros and states and countries and continents, that fruits children who grow to be adults who care about the fate of trees, that spreads its seeds to create a whole forest and support the lives of a whole thriving ecosystem.
sometimes the outside world and my inside feelings make for hard weeks.this was one of those weeks. I don't know what else I want to say so I'll just leave this here today.
[The writing in this blog post is an excerpt from a Free Write I just did with Iphy, Hannah, and Doug. I will explain the rules of Free Write in another blog post... but not today cause I'm running out of time...]I can feel the muscles in my hand straining and sore (have I written so much or just put too much pressure on it? There's a metaphor there). My hand muscles and face muscles are sore as I relearn the feelings of their regular use - my flute embouchure has gone to crap (sorry about the language but it's true - I used to be able to do 2 octaves of chromatic-scale longtones before I got fatigued and now after just a few notes I hurt).I am thinking about skills that take muscle practice in part because I was talking to Serena earlier about lifting and how much I miss it. My body still hurts from Wednesday's game of Shark Tag. Even though the stiffness is kind of a pain (pun possibly intended) I am trying to mentally frame it as something positive: a reminder that the micro-tears I am causing in my muscles with practice will heal stronger and grow my endurance; that ignoring my body does not make me disembodied; that I am more powerful when my being inhabits more than just my head.---Here's this week's mosaic!
This summer I discovered a new reflective tool that I love: done column mosaics! They're exactly what they sound like - you take all the stickies from the "done" column of your Kanban and make them into a mosaic (maybe doodling between them, maybe not, maybe writing reflections between them, maybe not...). I like that it's a flexible medium for seeing what I've accomplished; as a self-reflective human, I'm always interested in what Past Mel was up to, as a Virgo, I hate the redundant work of rewriting things from my Kanban and as a serial-notebook-keeper I don't like to leave things out of my personal records because then I won't know that I've done them! Done column mosaics have been the answer for me, and so here's this week's!


 This week we made and decorated Star Wars cookies in cook n00b with Nancy! Initially, Nancy and I were worried that the cookie cutouts wouldn't look good when they came out of the oven, or that that would be too complicated to decorate. What we forgot to consider is how creative and adaptive all the kids are! We were blown away by the variety of Wookiees, Yodas, Vaders and C-3PO's (and even a Jabba the Hut cupcake!) - such a good reminder for us grownups that things don't have to be precisely perfect to be beautiful, creative, and delicious!
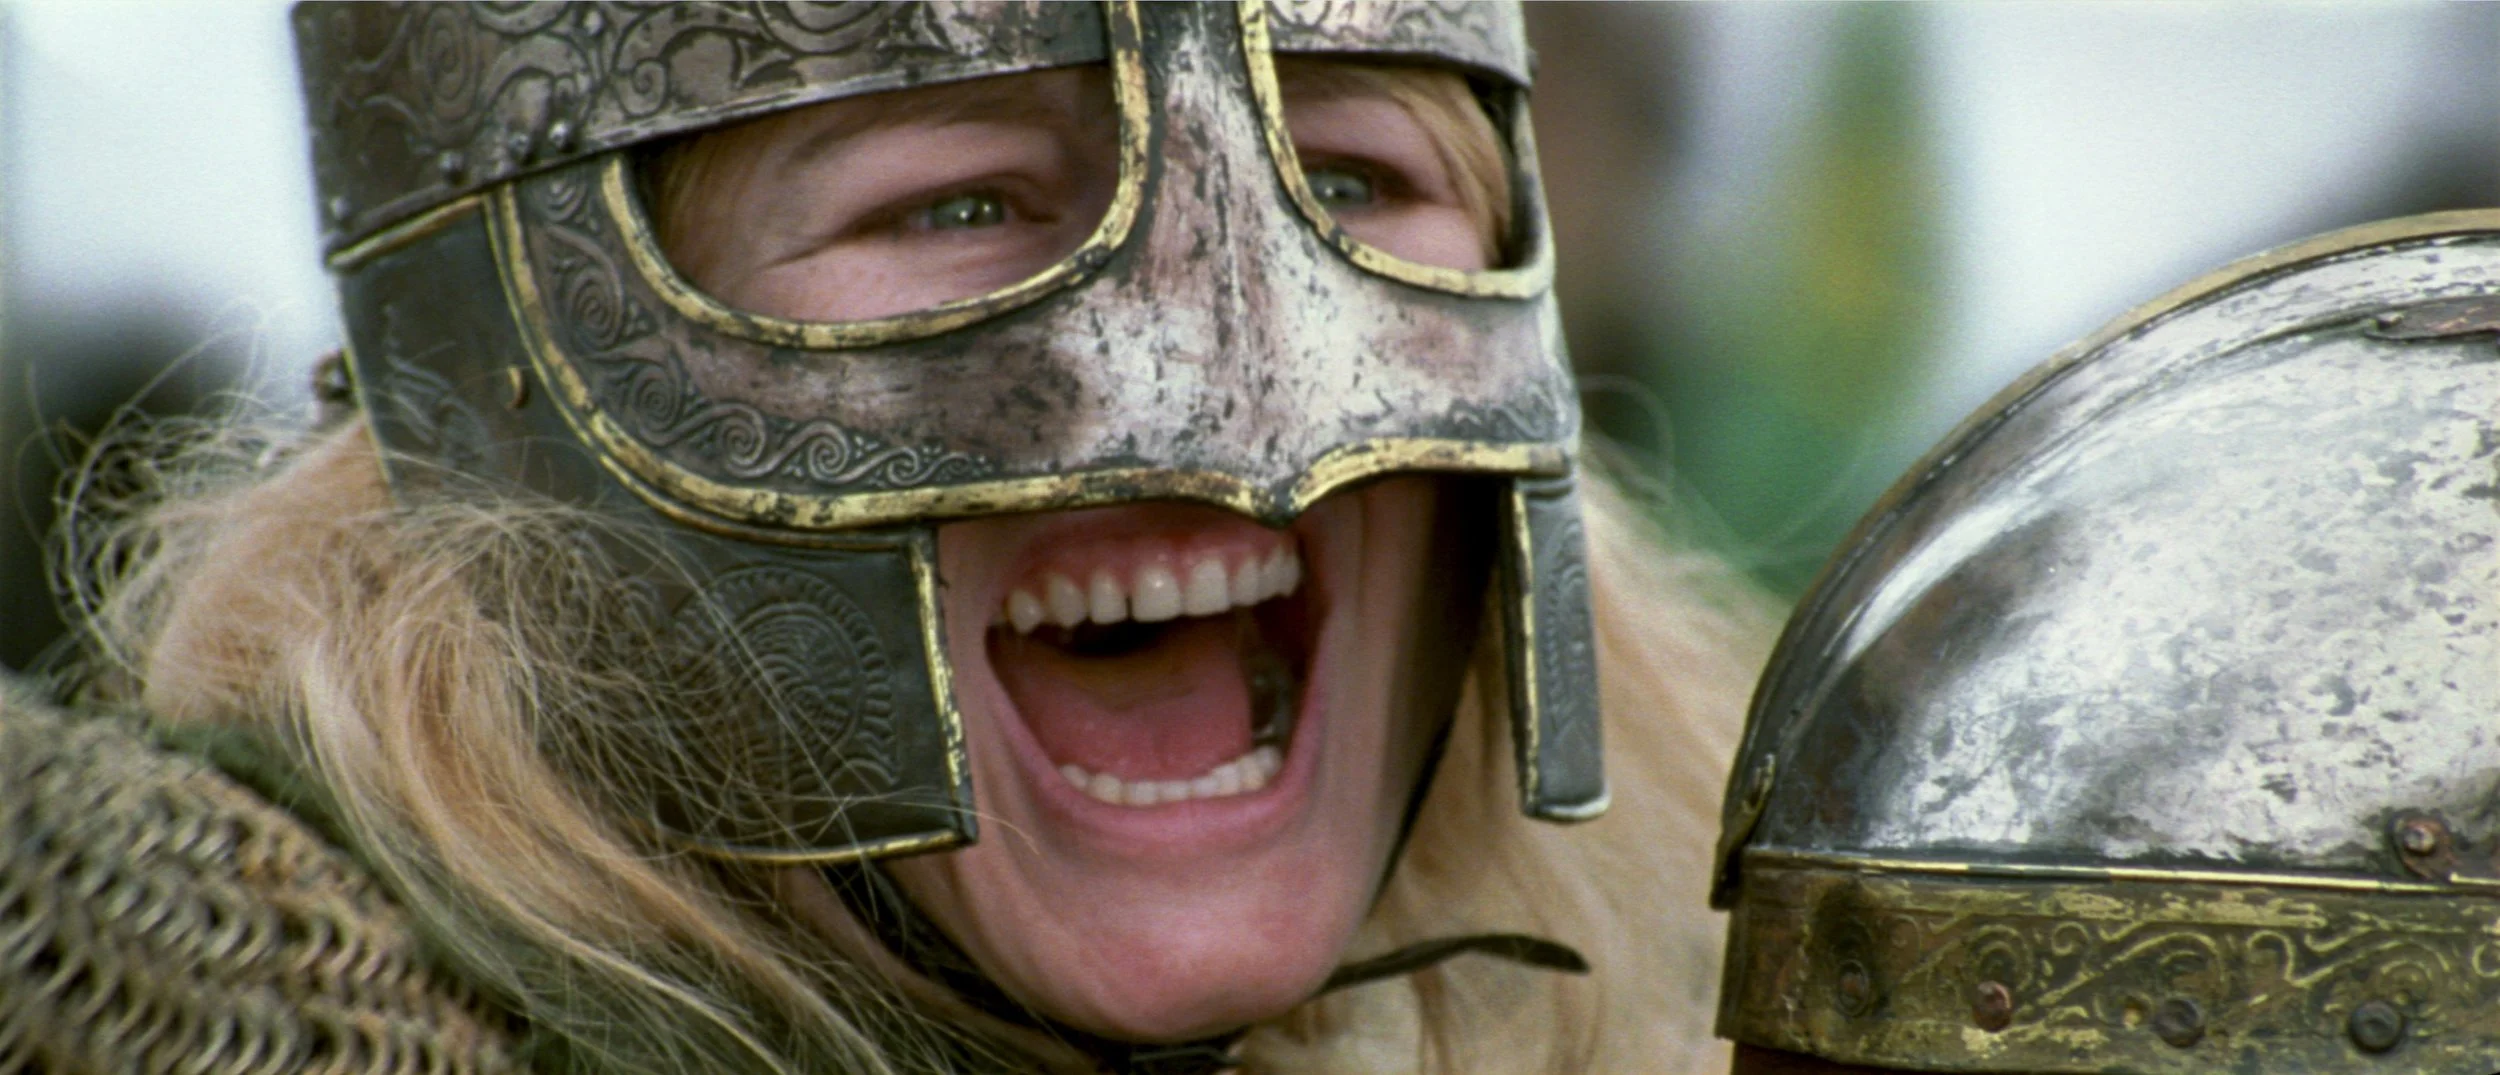
“‘My friend,’ said Gandalf, ‘you had horses, and deeds of arms, and the free fields; but she, born in the body of a maid, had a spirit and courage at least to match yours. Yet she was doomed to wait upon an old man, whom she loved as a father, and watch him falling into a mean dishonored dotage…’”
From the first time I read LOTR at the tender age of eleven, I loved it. It wasn’t my first experience of high fantasy, but the seriousness with which Tolkien approached his heroes and the evil they faced appealed to me: I took myself seriously, and even then I believed that the small can slay the mighty, can stand up against evil. Tolkien’s worldbuilding is impressive and unprecedented and I’m grateful to the father of the genre I love for bringing about the high fantasy renaissance, which lead to the publication of novels like The Golden Compass, The Broken Earth Trilogy, and every perfect book Tamora Pierce has ever written.Having established my credentials as a serious fantasy fan (come at me, bros) there’s something I have to get off my chest. LOTR has a serious lady problem. Three and a half books we’ve encountered only 5 female-identified characters in this months-long journey. Five! In the course of literally thousands of pages of epic journey! How is that even possible???? Let’s review:
Yes, Éowyn does go on the slay the Witch-King of Agmar, a task that no man can complete. What happens after that? Everyone assumes she’s dead, talks about how beautiful she is and how tragic her collapse/death was and then Aragorn heals her physical wounds so she can fall in love with Faramir and "heal her soul." She’s a badass character who Tolkien recognizes as being a worthy warrior unfairly limited by her gender. But, instead giving her a chance to prove her worth and take charge of her own story (just like all the other male-identified characters get to....) he writes her a love story and calls it a day. No story is perfect, but we all deserve better. Now, more than ever, we could use the reminder from the genre that prides itself in building worlds, that there’s plenty of room to build awesome characters of all genders to kick evil out on its butt.
Today I was the guest chef at cook n00b and we made chili! In the beginning, I got a little overwhelmed by everyone asking me what they could do, but after a minute everyone had a job they seemed to be happy with. (Plus, the chopping went much faster with everyone pitching in.) The chili turned out delicious, as it always does. Honestly the best part about chili is that it's almost impossible to mess up. Here's the "recipe" we used:Chop 2 medium yellow onions. Put one large pot on medium-high heat and after about 30 seconds, add the onions and 2 lbs of ground beef to the pan (the pan should be hot enough to make the onion and meat sizzle). Let the meat brown all the way.As the meat is browning, chop 2 green and 1 red pepper. Personally, I prefer jalapeno peppers to regular green ones but today we went with the non-spicy peppers, so as to appeal to a wider range of humans. Set the chopped peppers aside. Gus, Timo, Douglas, and Nahla did most of the chopping.When the meat is all brown with no red in it, add the spices. We used the spices from this chili kit but as long as you've got cumin and paprika you can throw in whatever you want and it'll still be chili, promise. Iphy and Hannah stirred the chili as I added the spices, which helped distribute them pretty evenly throughout the meat.Then add one large can of crushed tomatoes, 2-3 chopped cloves of garlic, 2 cans of kidney beans, 1 can of black beans, 1 can of corn (all drained, except the tomatoes, obviously). I also added a tomato-can's-worth of water and a little masa flour so it would thicken up nicely.We let that cook for about 15 minutes, then added the peppers and cooked them till they were soft (about 10ish more minutes - the best way to tell is a taste test). For sides, we made rice and cornbread (from a box, because I'm not fancy enough to know how to make cornbread from scratch). Ryan made the rice which was particularly awesome because whenever I make rice on the stove, I burn at least a little of it to the bottom of the pot.That's it! Chili is more art than science, so trust your taste buds and don't be afraid that you're gonna over-season or overcook it (in fact, I prefer to cook my chili for about an hour - just be sure to add more water if you plan on cooking it for a long time). I particularly recommend making it while nervously putzing around your kitchen because it's Sunday afternoon and the Giants are playing terribly - chopping is a great distraction from football-induced rage and then you get to eat comfort food when they lose. Happy Chili everyone!
Even though I was sick, I came in on Halloween and am so glad that I did - everyone's costumes were so creative! Iphy as a Holy Cow
 Sterling as Nightmarionne
 Anakin Skywalker and Kylo Ren play minecraft
 Doug as the poo emoji (Timo wanted to know why he chose the iOS version)
 Saylor as a scary park ghost
 Iphy painted my face and I looked v scary.My old friend Procrastination is back - as soon as I opt into a challenge it whispers "What if you just made it up tomorrow?" and I respond "Great idea, Procrastination, let's go grab some coffee and catch up!" And every time I kick it down the road, Natnowrimo gets bigger and scarier. Stories are hard. I'll work on it this weekend XDToday we made Pavlova with Nancy and Alex at my first ever cook n00b!


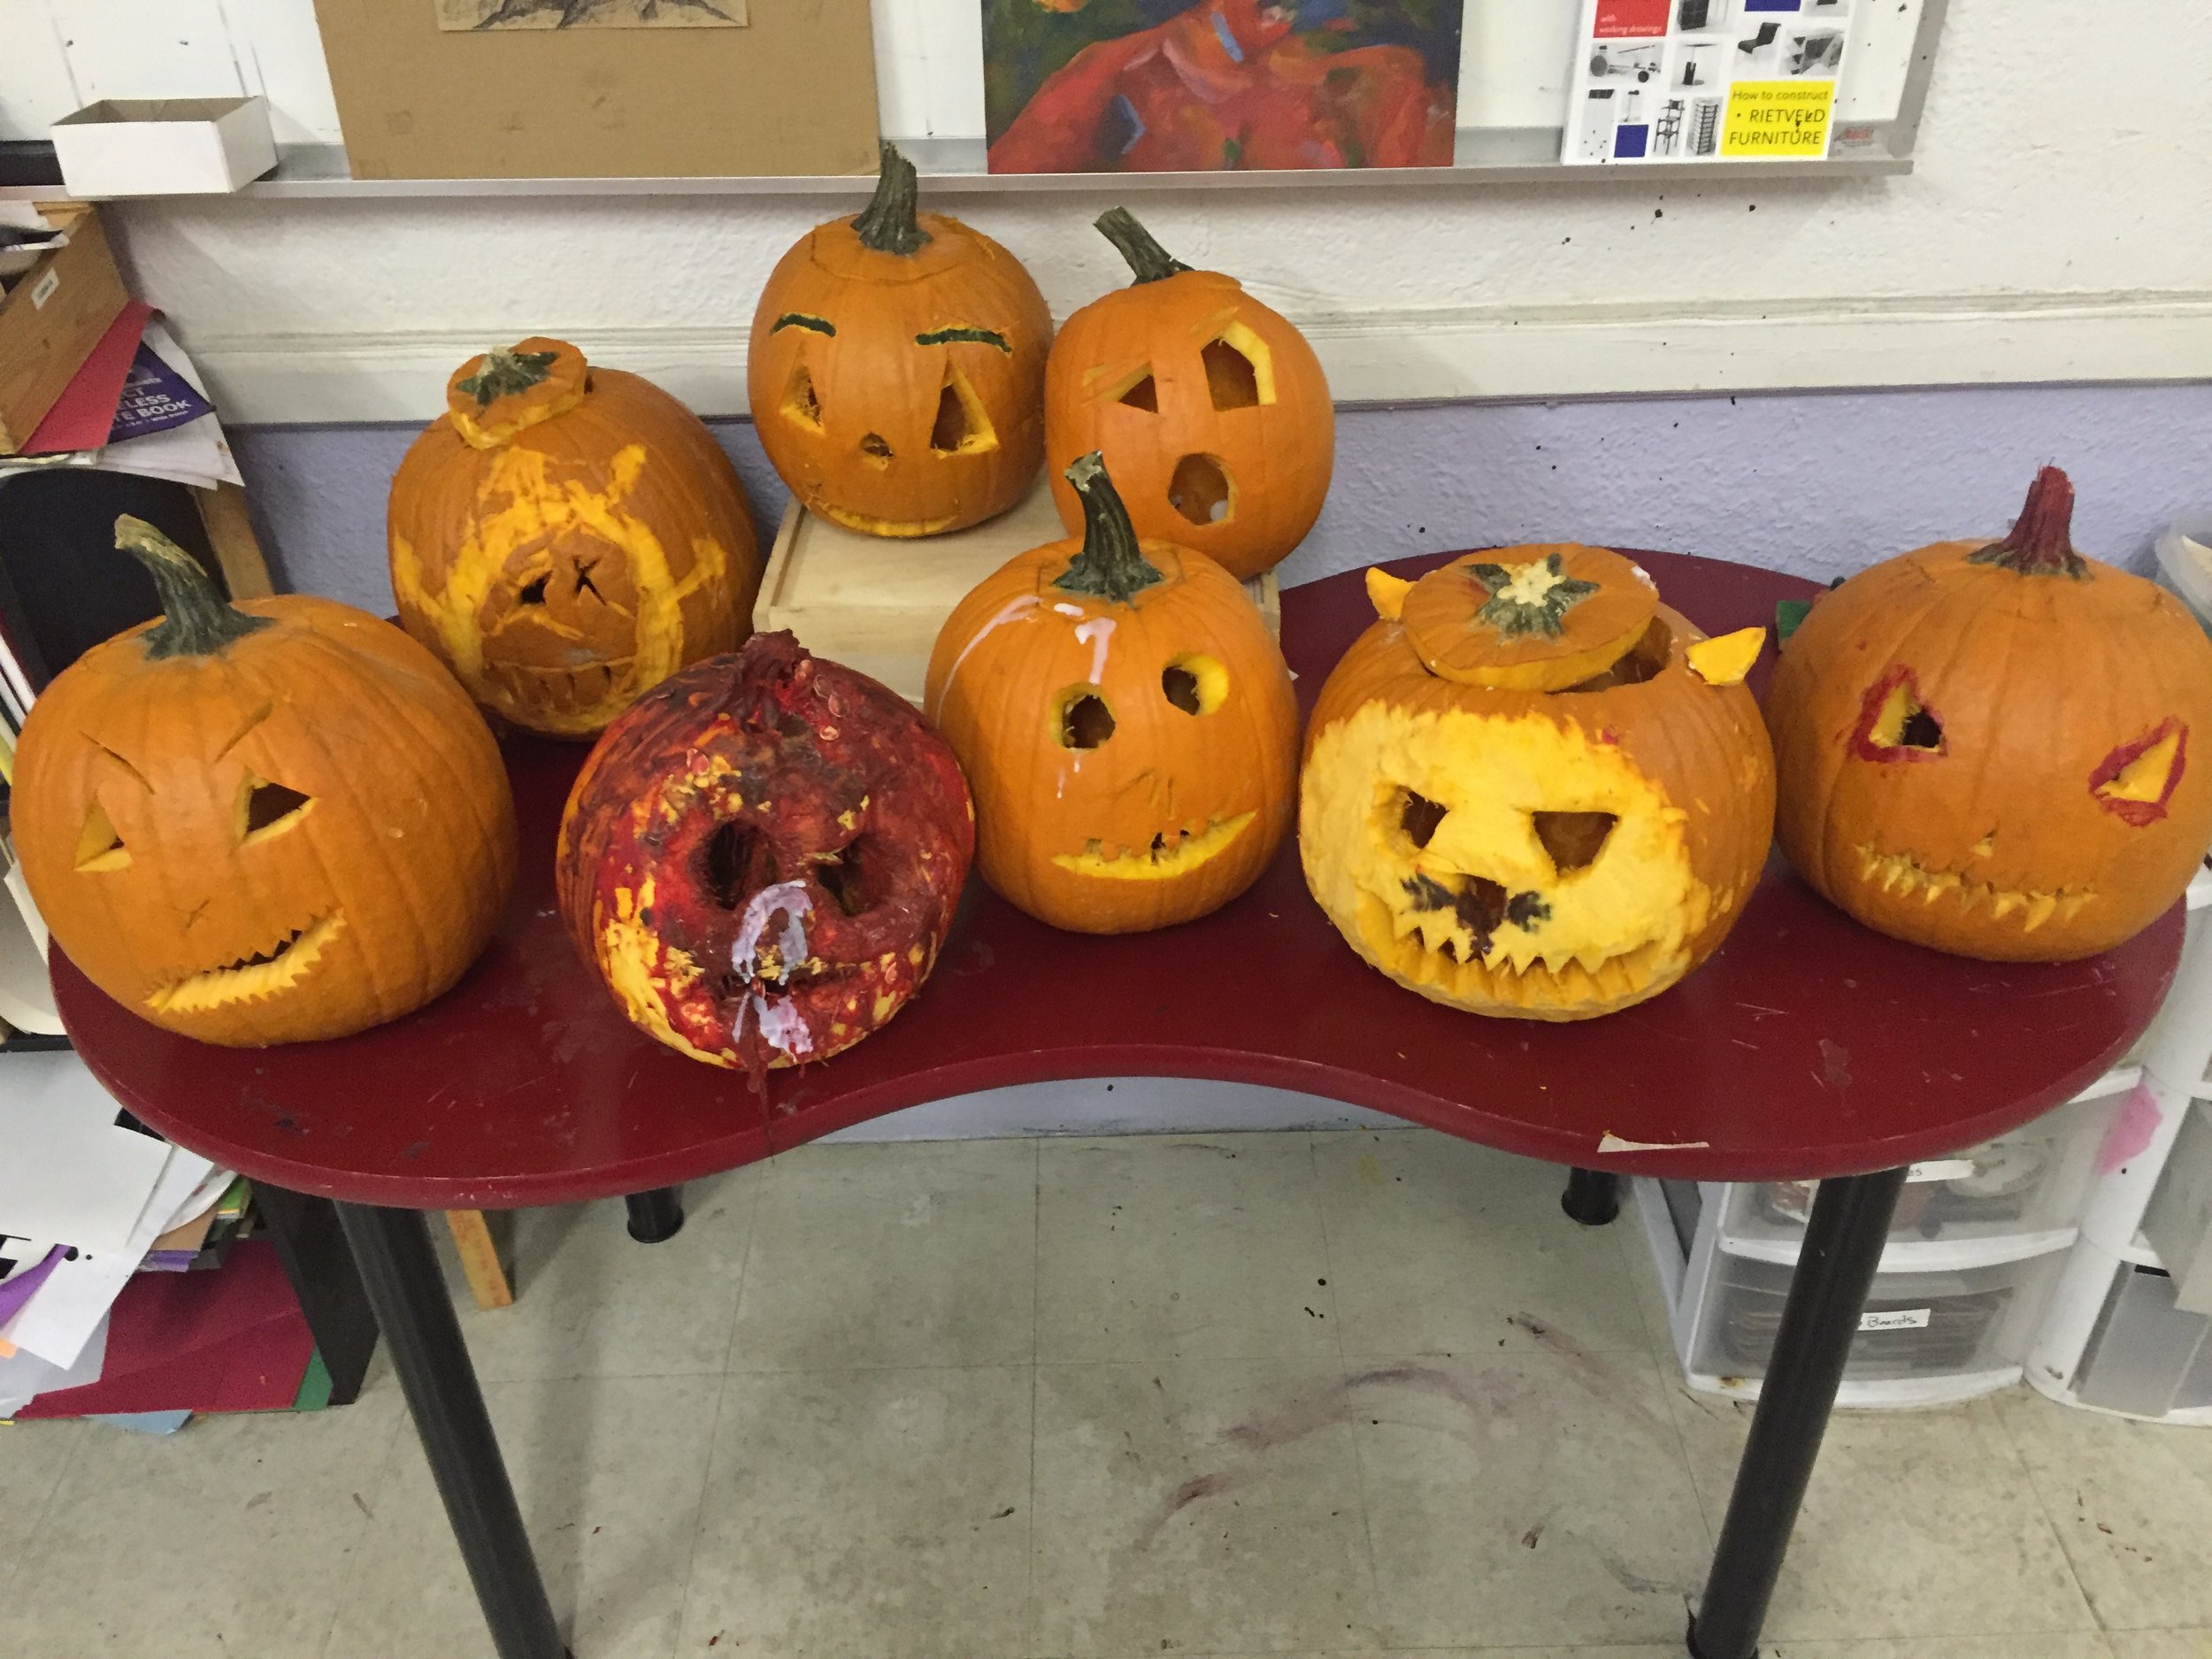
Why are there physics and pumpkins and dumplings and python projects and jump-scare video games and lacrosse balls and sports with complicated rules and games with simple mechanics and rainbow keyboards and expo markers and existential questions and 8-bit philosophy and Cartesian uncertainty and schools where kids must be gently pushed out the door on Friday afternoons because they don't want to leave and I don't either which is why I'm still here, writing this blog post instead of going home to nurse the cold burgeoning in my esophagus and lungs, why are there places that feel safe even for strangers, why are some places safe and how do we know they are real if we can't trust our senses?Why is there a separation between the Mind and the Body? What do those borderlines feel like - high water marks in the sand of the beach or the time between night and day when it is neither or not or both? What is the difference between the darkness in the squishy part of my head behind my eyes and the darkness of the Nothing beyond space? Why did I stop asking myself these questions and can physics answer them? Can science fiction? What about realistic fiction or fantasy or memoir or first person shooters or 2D adventures or VR explorations or social-deductive games or Solitaire? Descartes believed that the only thing that is verifiably real is doubt because he was the sort of philosopher who mistrusts the body in service of the Mind but I mistrust all Minds that don't trust their Body because what is computation with no inputs? There must be Something instead of Nothing because Saylor carved this pumpkin today and my throat hurts and the sun is setting again, west of here.